ProjectsRobot arm
Robot arm
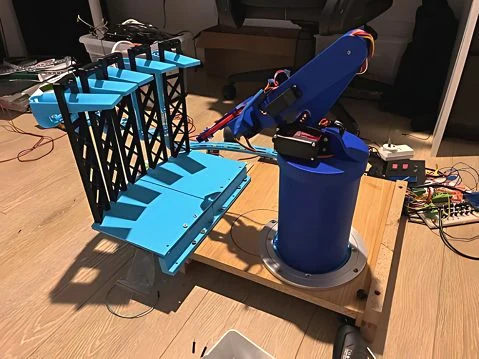
A 3D-printed arm that picks up marbles and checks their colour, built for my school marble machine project.
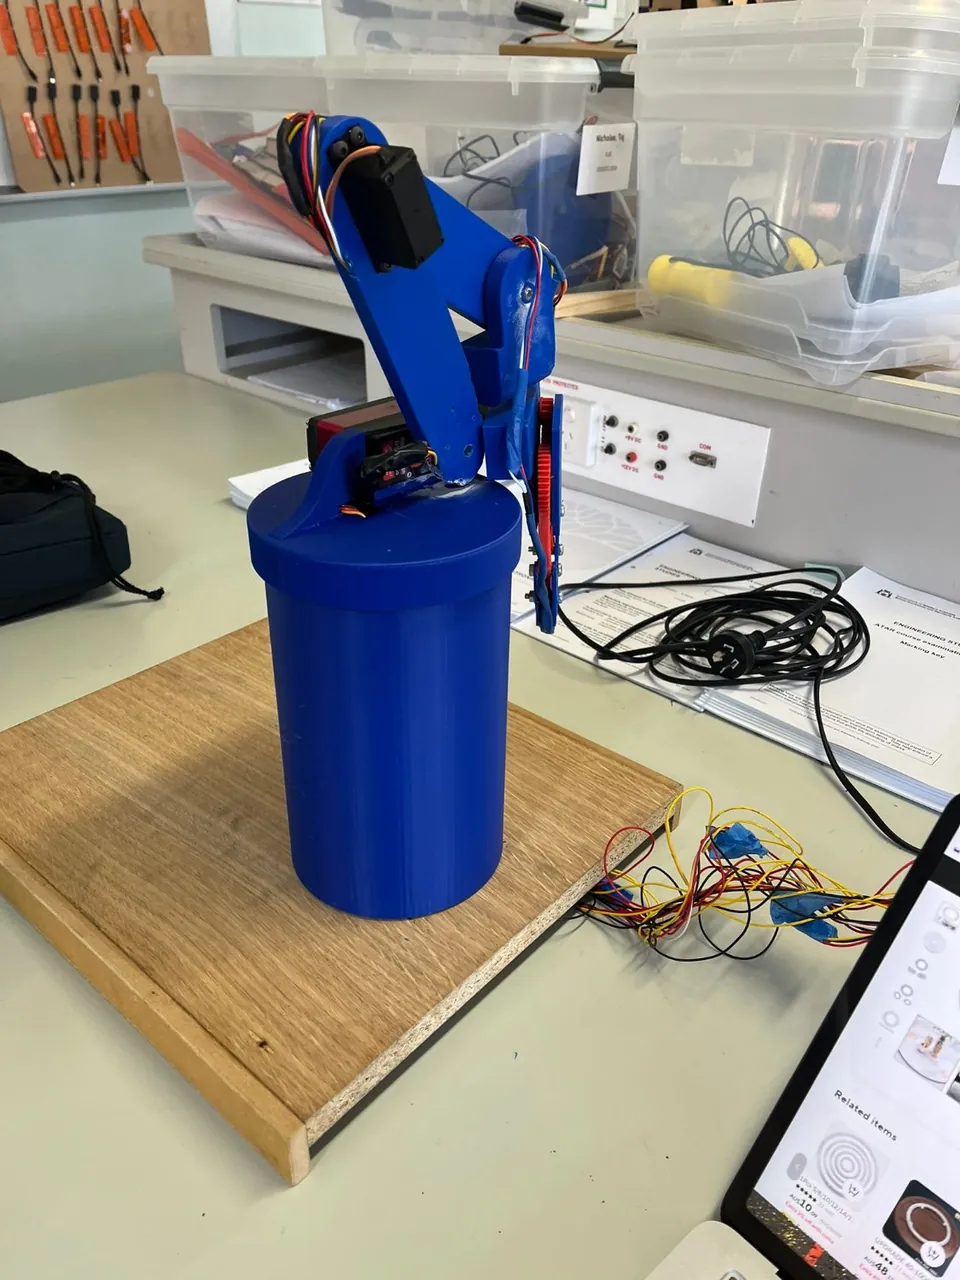
- Base servo
- 80 kg·cm
- Electronics
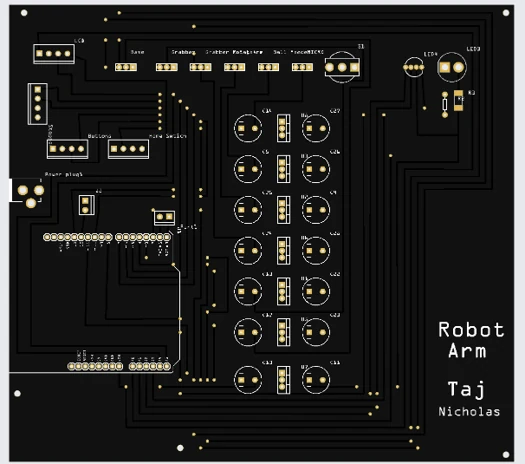
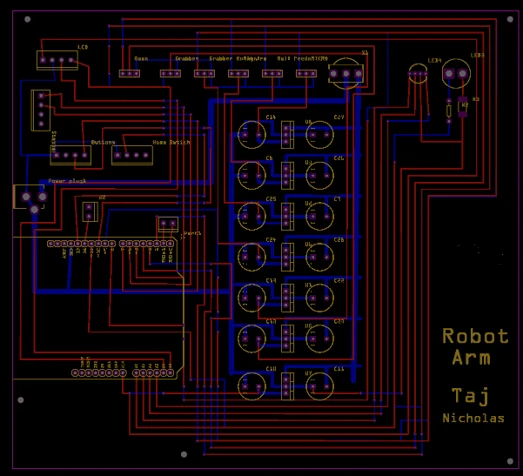
- 2-layer PCB I designed
- Sensing
- Light and LDR for marble detection
- Code
- Arduino C++
The full story
This year I took on the challenge of designing and building a robot arm as part of my marble machine project for school. The process was full of learning opportunities, design changes and iterative problem-solving, and it helped me grow as a maker.
Iterations and challenges
The arm went through several major iterations while I was building it.
Servo mounts
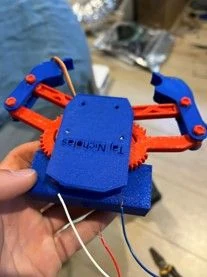
I first designed the base to hold a single standard servo, but it was too weak to lift the arm, which led to multiple redesigns. I switched to two regular servos, then finally to a powerful 80 kg·cm servo. That meant reprinting the base servo mount three times.
Arm design
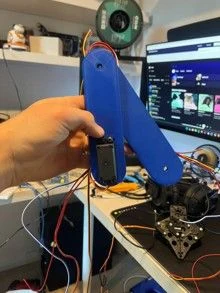
To fit more wiring I had to reprint two of the arm sections. That improved the arm overall and made room for the light and LDR used to detect marbles.
Collection system
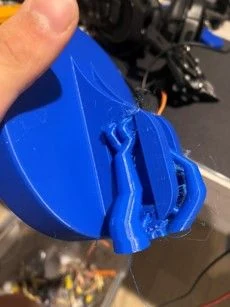
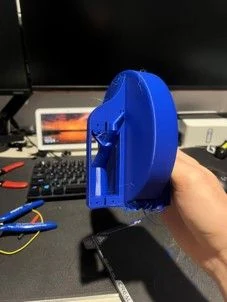
I printed the collection system once, then revised the chute to improve marble flow and save filament. The final version uses a simplified two-part support.
What I learned
- Limits of 3D printing
- It's possible to print gears and servo mounts, but they don't hold up reliably under stress and tend to fail over time.
- The value of iteration
- Iterating on designs and adapting to new challenges is a critical part of engineering.
- Mechanical design
- Stability and precision matter. Bearings in the joints, better servo arms and integrated screw holes would make a big difference.
If I built it again
- A larger arm
- I'd use stepper motors with potentiometers for precise control, and belts to keep the motors closer to the previous joint and take stress off them.
- The same size
- I'd refine the servo arms with cut-outs and screw holes for secure mounting, and add bearings to the joints for stability and precision.
- Colour detection
- I'd use a dedicated RGB colour sensor instead of an LDR, for more accurate and reliable results.
Parts and electronics
Code
Read the Arduino code
The sketch that drives the servos, stepper, LCD and colour sensor, shown as I wrote it. It is still a work in progress.